Enterprise organizations — Companies with multiple Enterprise teams can use an organization: one subscription and administrative layer for many teams. Billing, consolidated usage, and some security settings are managed at the organization level; teams still own queries, dashboards, and API keys. See Organizations.
- Collaborate on shared content. Multiple team members work on the same queries and dashboards.
- Shared credits and paid features. All team members can spend credits and access private content.
- Team profile. Showcase all of your team’s work in one place.
- Role-based access. Assign viewers, editors, or admins to control permissions.
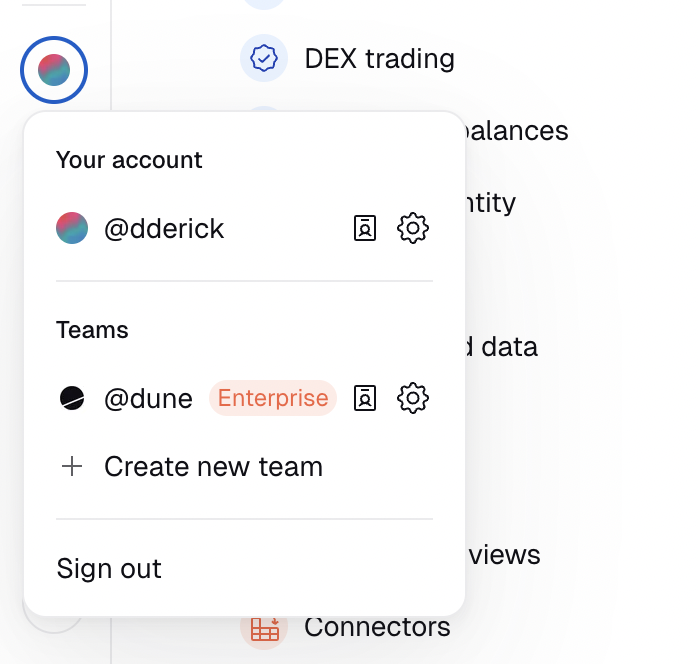
Create a Team
- Navigate to the global context switcher at the top of the page.
- Select “Create new team” from the dropdown.
- Complete the team creation process.
Every team must have a unique name that has not been used before.
Invite Members and Assign Roles
After creating your team, invite members and assign roles:- Admin: Full control over settings, memberships, and content.
- Editor: Can create and edit queries and dashboards under the team.
- Viewer: Can view team content and spend credits.
When you invite a user, they receive an email with a link to join. They can also go to Settings > Teams to accept the invite.
Team Content
Team queries and dashboards are created the same way as individual content. The context you are in (personal or team) determines who owns the content you create. You can change ownership of any query or dashboard in its Settings page.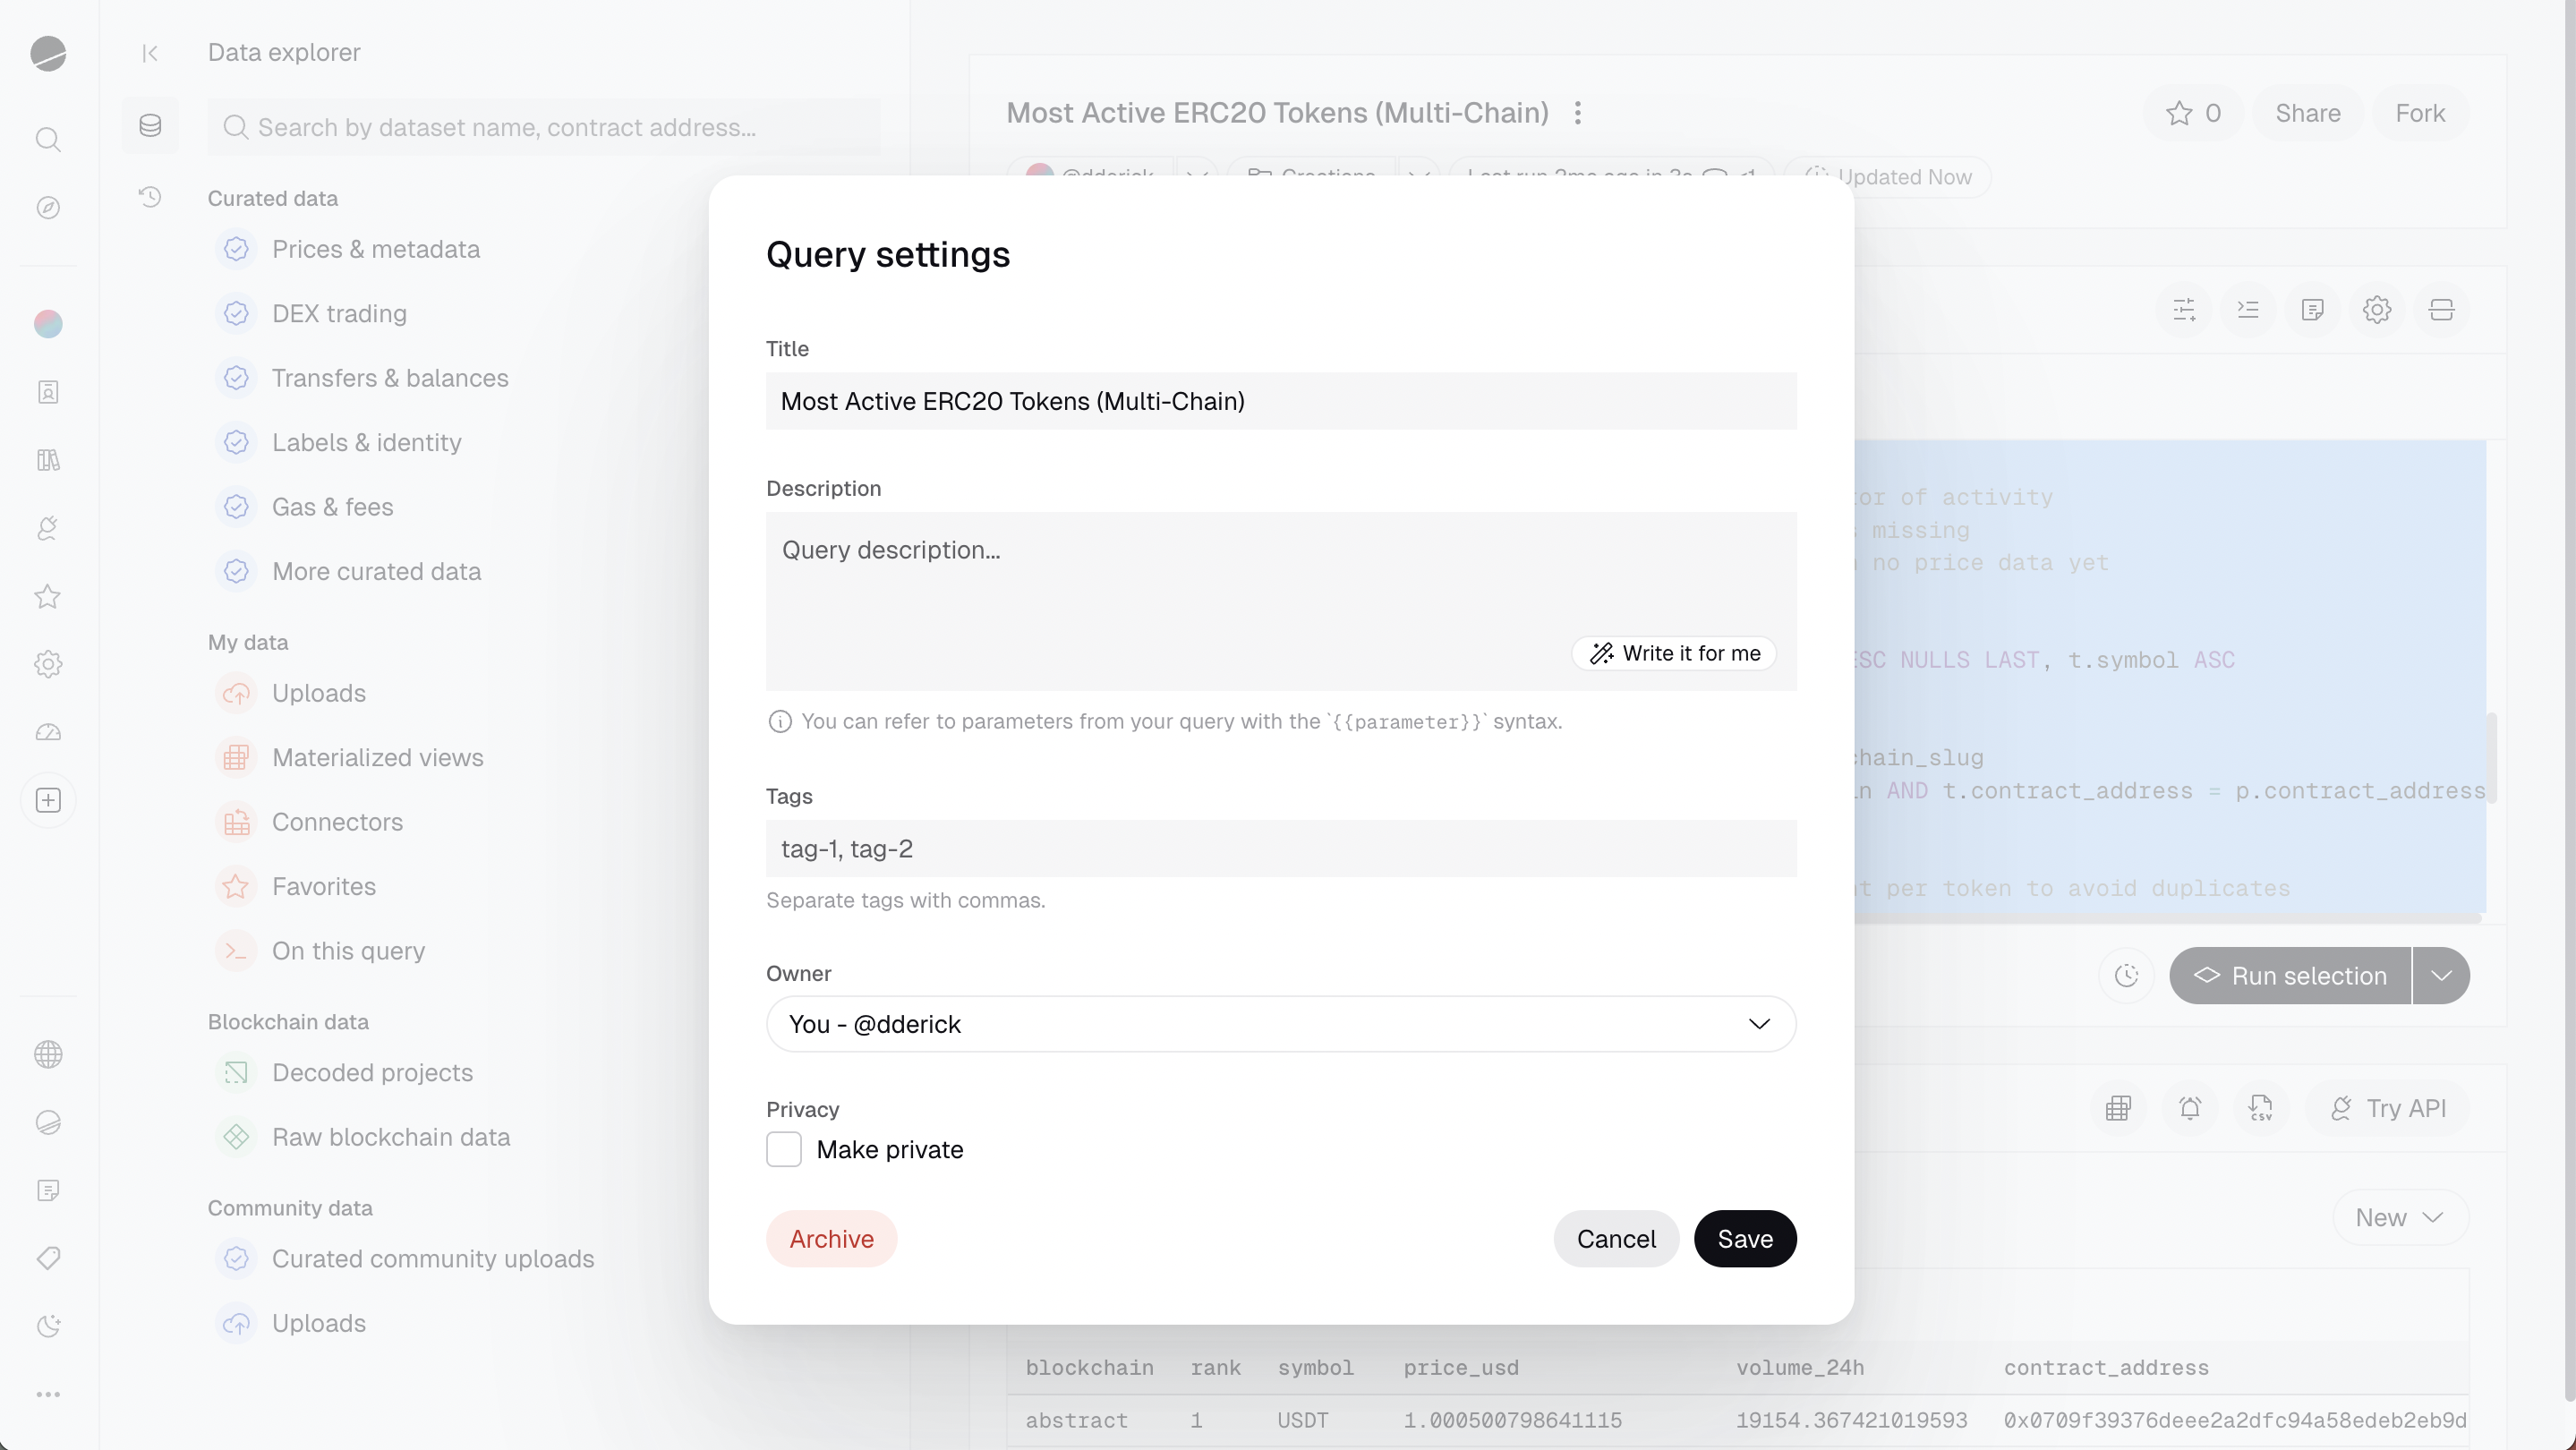
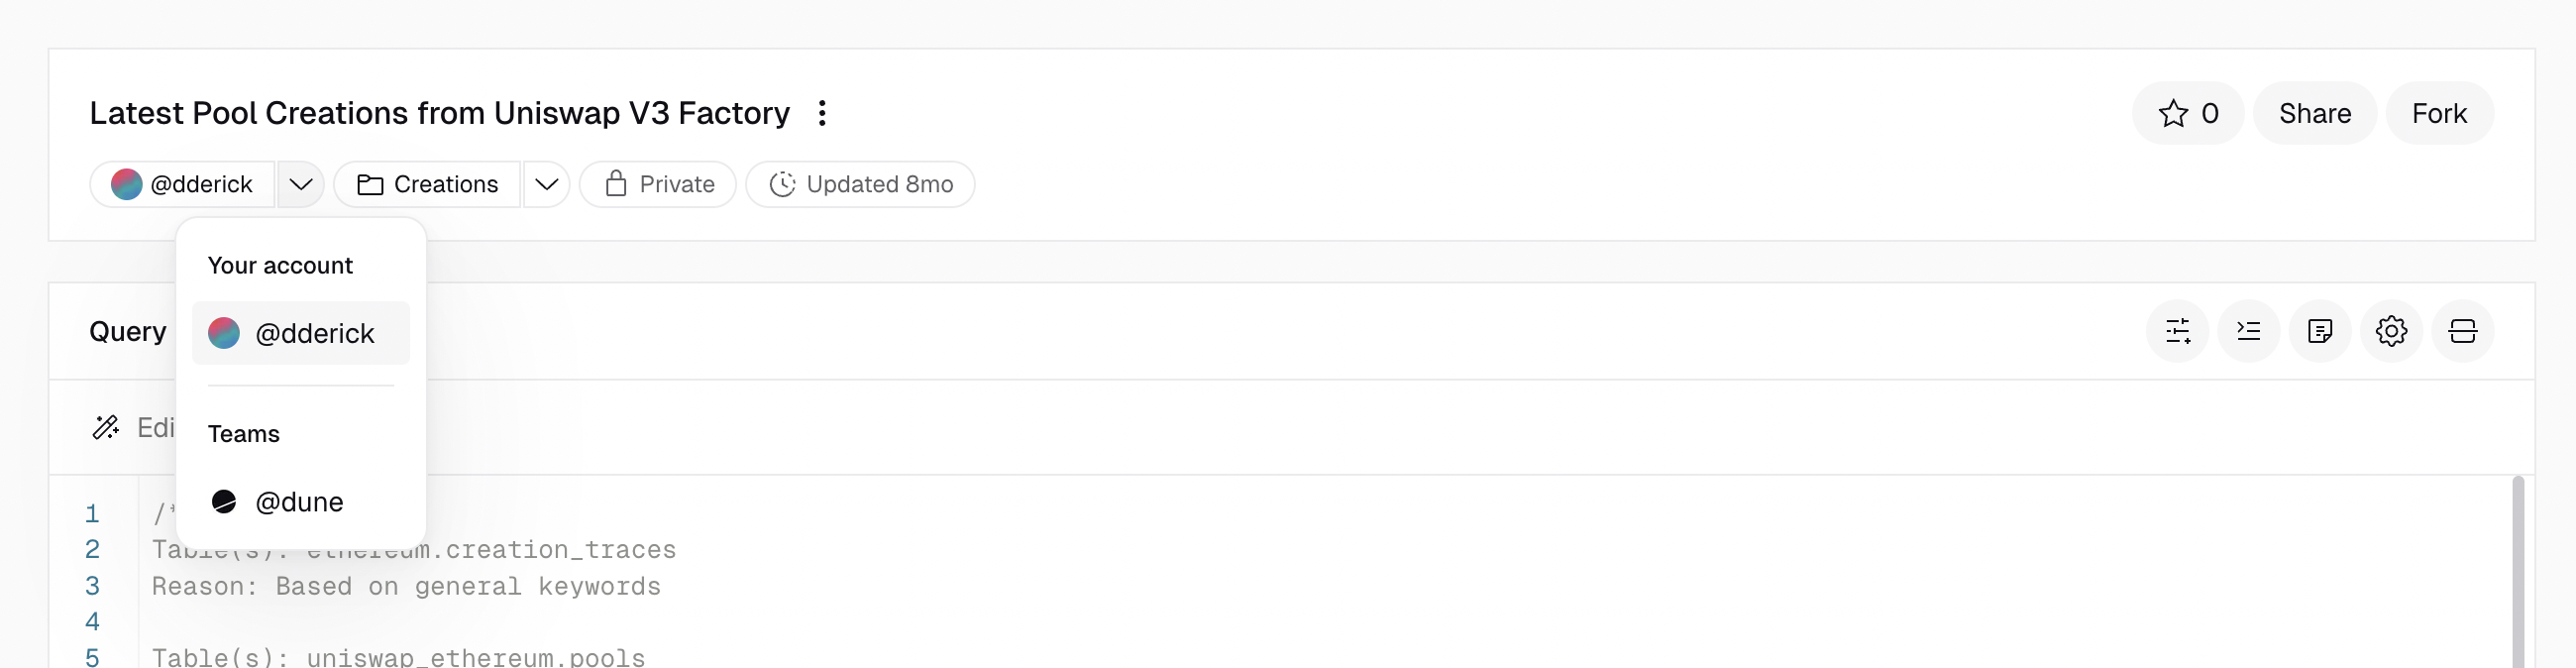
Switch Between Contexts
Use the global context switcher to toggle between your personal account and team accounts. The context determines:- Which content appears in “My Creations”
- Which credit balance is used for query execution
- Who owns newly created content
Manage Subscriptions
Teams that belong to an organization do not have their own plan tab. Subscription, invoices, and organization-wide usage limits (including optional per-team credit caps) are managed in organization settings. See Organizations.
- Modify your plan: Change subscription plan or switch to annual billing.
- View usage statistics: Check credits, CSV uploads, and private content quotas. You can also export detailed credit usage data.
- Manage additional credits: Set a maximum dollar amount for pay-as-you-go credits in the “Limit extra credits” field (default is $0).
Transfer Ownership
You can transfer ownership of queries and dashboards between team members, teams, or your personal account.Transfer a Query
- Click the cogwheel button to open query settings.
- In the “Owner” dropdown, select the new owner — you can transfer to a team member or to a team.
Transfer a Dashboard
- Click Edit, then Settings to open the modal.
- Select the new owner in the “Owner” dropdown.
FAQ
Can I have private content?
Can I have private content?
Private dashboards and queries are available for the team or personal account they belong to.
How do I change my role?
How do I change my role?
Ask one of your team admins. Every team must always have at least one admin.
Can I remove people from my team?
Can I remove people from my team?
Yes, in the People section of your team’s Settings page.
Can I transfer content to another team?
Can I transfer content to another team?
Yes, in the Settings page of the query or dashboard you want to transfer.
Can I transfer content to another user?
Can I transfer content to another user?
Yes, but the target user must be a member of your team. If they are not, invite them first.
Can I transfer content to my personal account?
Can I transfer content to my personal account?
Yes, in the Settings page of the query or dashboard you want to transfer.